Prerequisites #
- Active WooCommerce store with the Conversios plugin installed.
- Access to your WordPress admin dashboard.
Set Up Microsoft Advertising #
Follow these steps to complete the integration, product syncing, and campaign creation for Microsoft Advertising with the Conversios plugin.
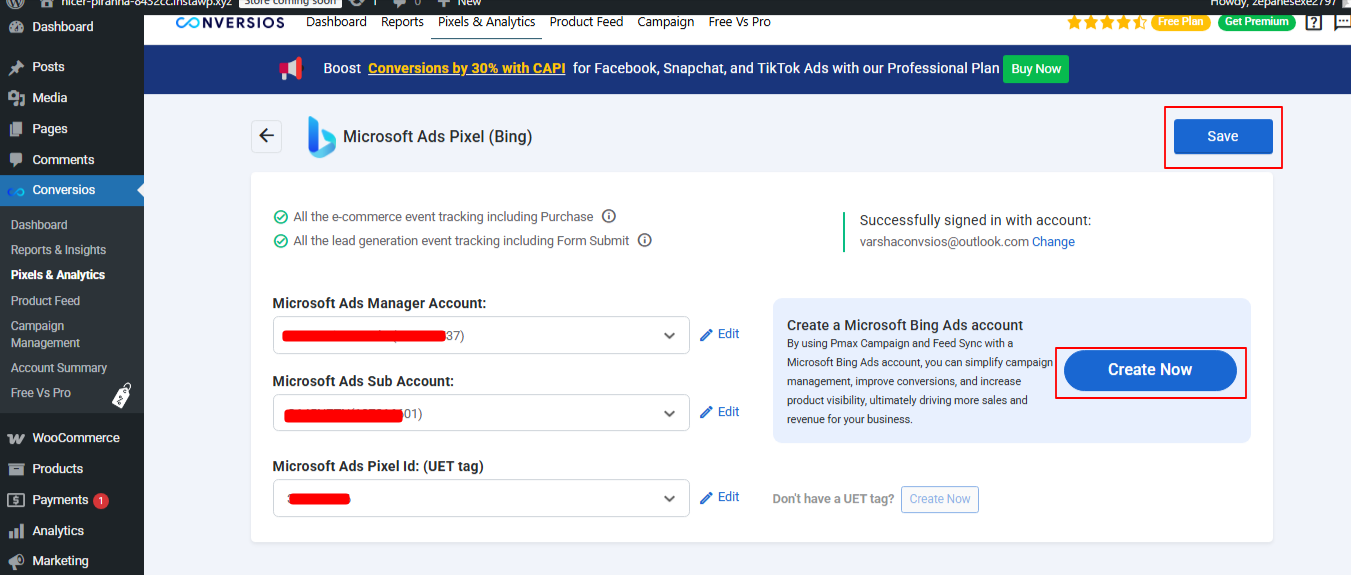
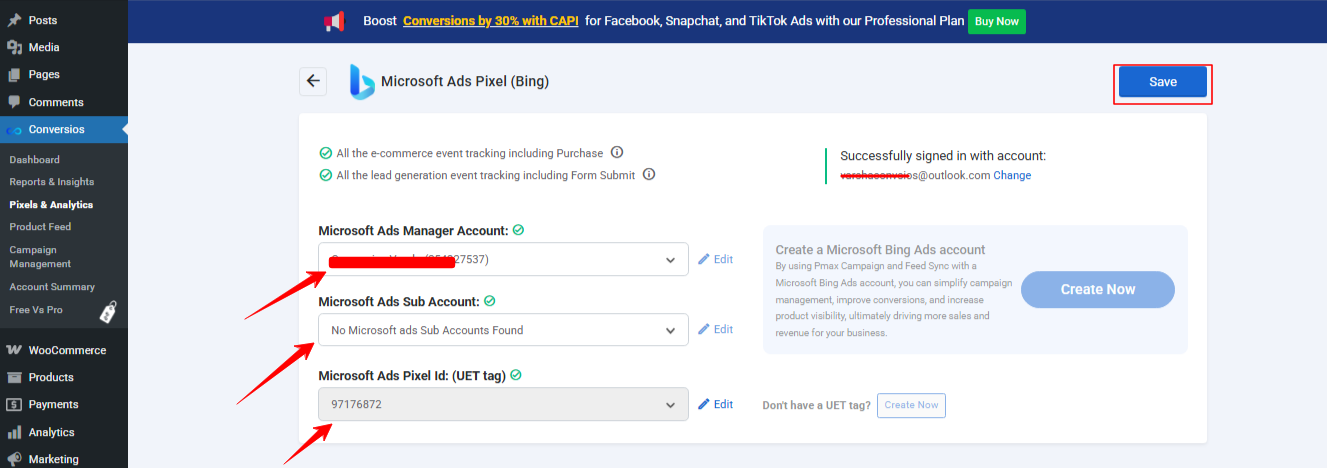
Step 1: Go to Conversios > Pixels & Analytics and select Microsoft Ads (Bing) to start the integration.
Step 2: You will be redirected to the Microsoft Advertising integration page.
Step 3: Authorize with the email ID associated with your Microsoft Advertising account.
- If you already have a Microsoft Ads account, it will automatically fetch your Account ID, Sub Account ID, and UET Tag.
- If you don’t have an account, click Create New via the Conversios plugin.
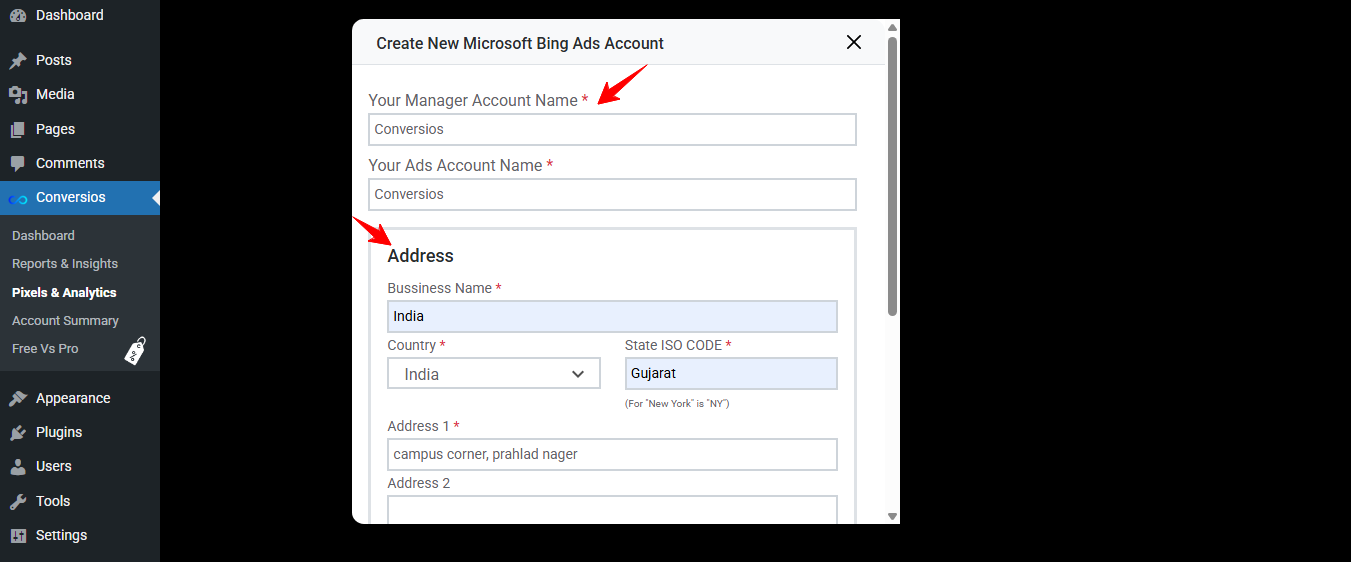
Step 4: Fill out the required information in the popup form, including:
- Manager Account Name
- Ads Account Name
- Business Address
- Timezone, Marketing Language, and Currency
- Accept the terms and conditions, then click Create Account.
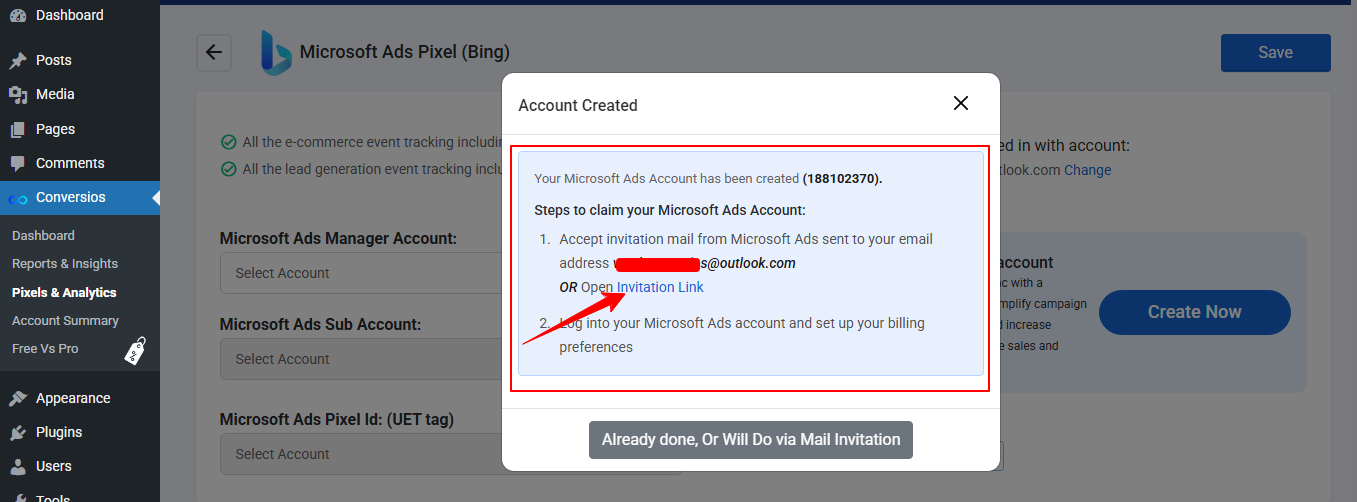
Step 5: Accept the invitation link sent to your registered email.
- Alternatively, open the invitation link provided in the popup.
- Log in to your Microsoft Ads account and set up your billing preferences.
Sync Products to Microsoft Merchant Center #
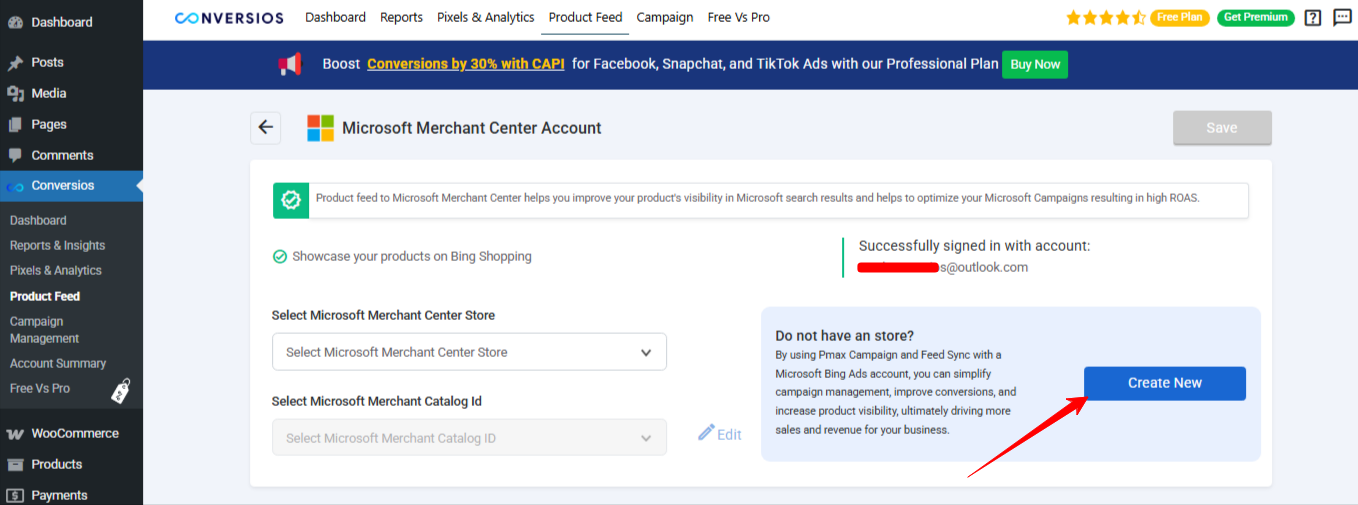
Step 1: Go to Conversios > Product Feed > Microsoft Merchant Center.
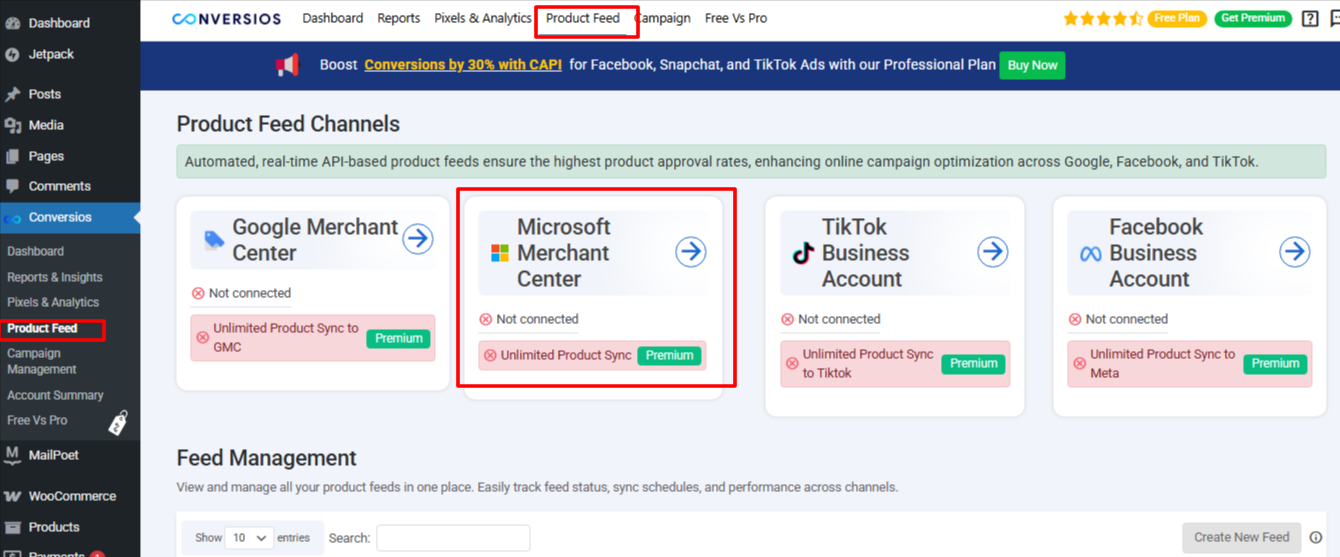
Step 2: Select your Microsoft Merchant Center Store and Catalog ID as shown in the screenshot.
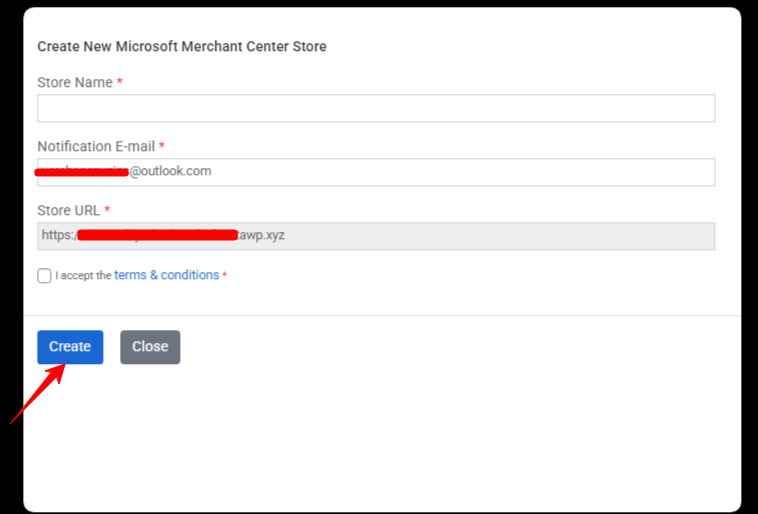
Step 3: If you don’t have a Microsoft Merchant Center account, click Create New.
Provide the Store Name, Store URL, and accept the terms and conditions. Your new Microsoft Merchant account will be created automatically.
Step 4: Click the Save button to complete the product feed setup.
Step 5: After successfully setting up the Microsoft Merchant Center, a confirmation pop-up will appear prompting you to create a product feed.
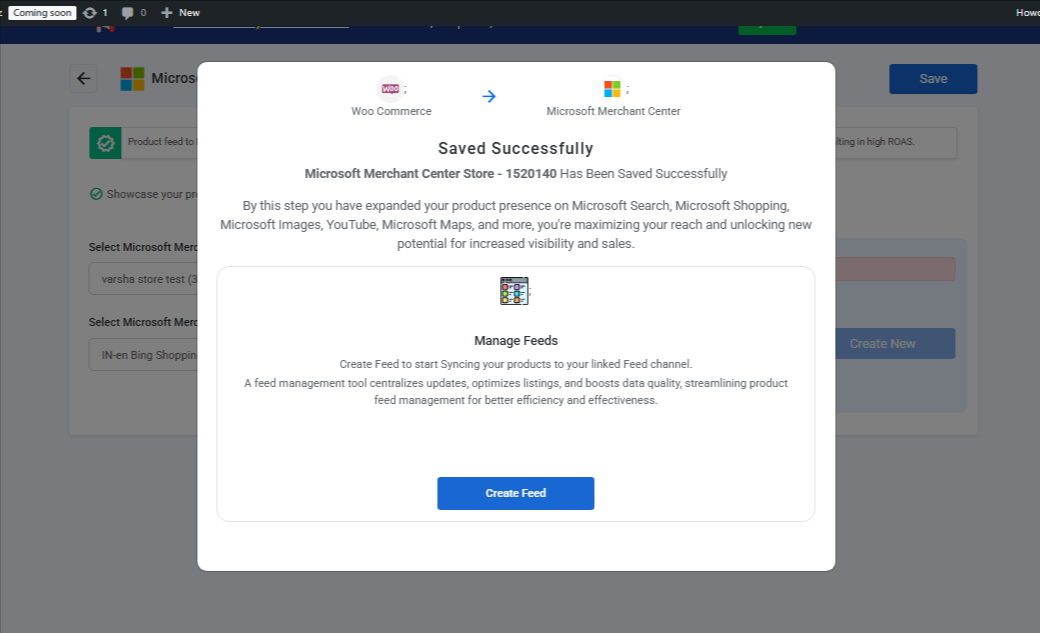
Step 6: After clicking Create Feed, a pop-up will appear.
- Enter a Feed Name
- Enable Auto Sync and set the Sync Interval (e.g., 25 days)
- Choose your Target Country
Select Microsoft Merchant Center Store as the channel.
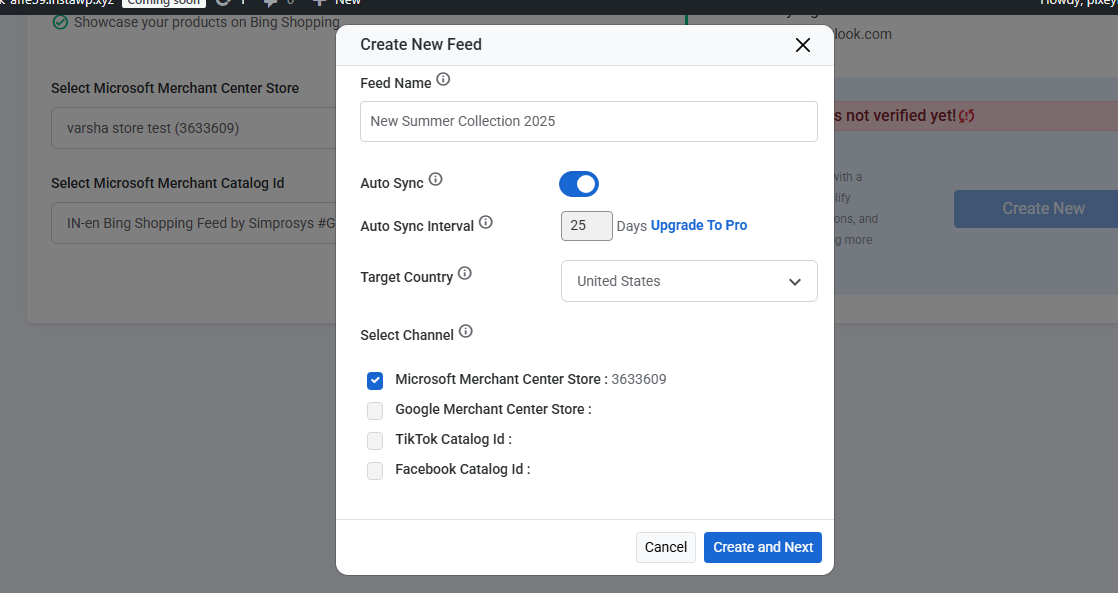
Step 7: After clicking Create and Next, a success message appears—click Done to continue.
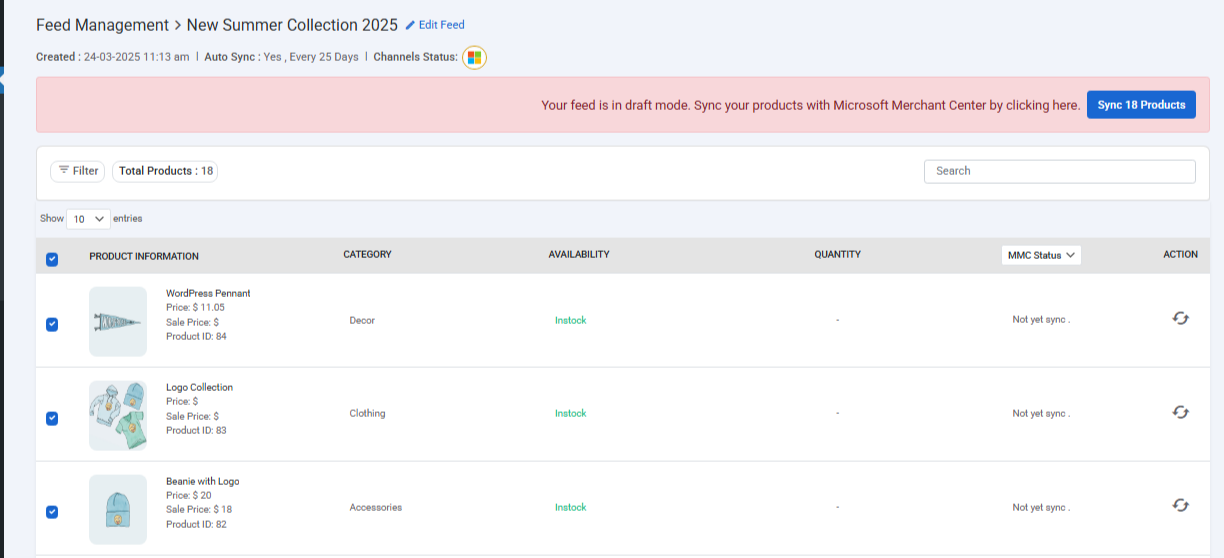
You’ll be redirected to the Feed Management page where you can review your product list and click Sync Products to publish them to Microsoft Merchant Center.
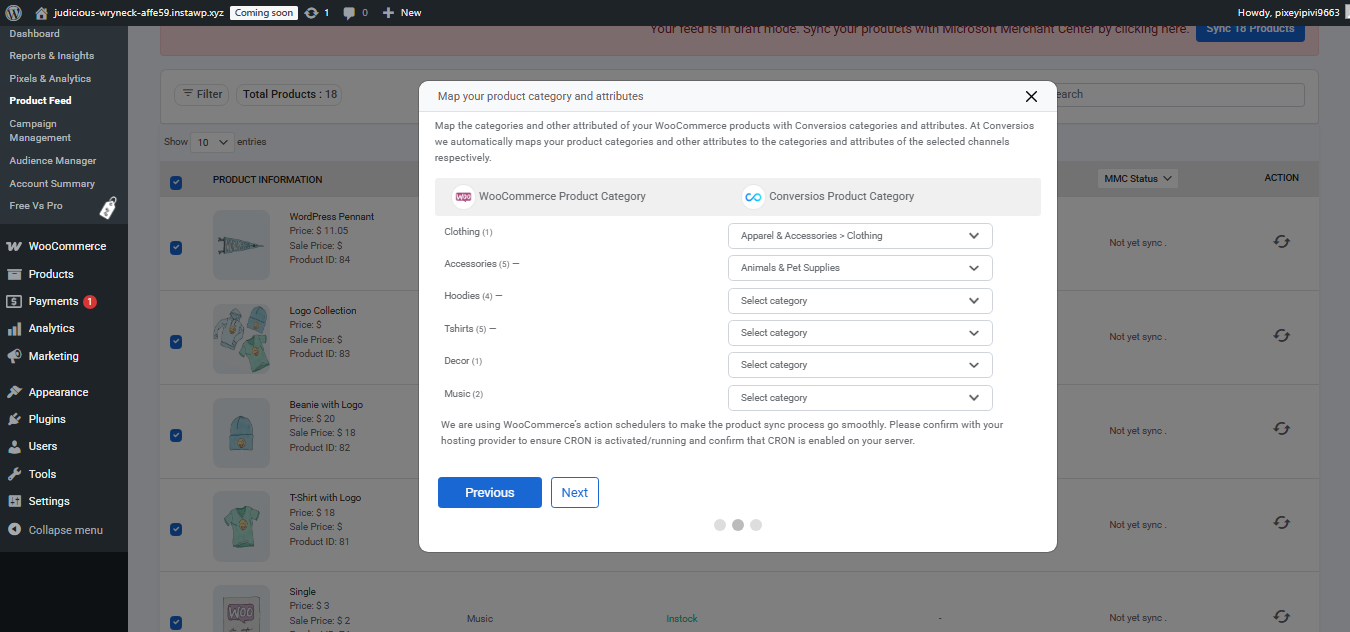
Step 8: After clicking Sync Products, choose how to map product categories:
- Allow us to complete this automatically – categories are auto-mapped for faster setup.
- Do it yourself –
- First, map your WooCommerce categories to the appropriate Conversios categories.
- Then, map product attributes like price, title, tax, brand, etc. using the dropdowns. Click Sync Products to complete syncing.

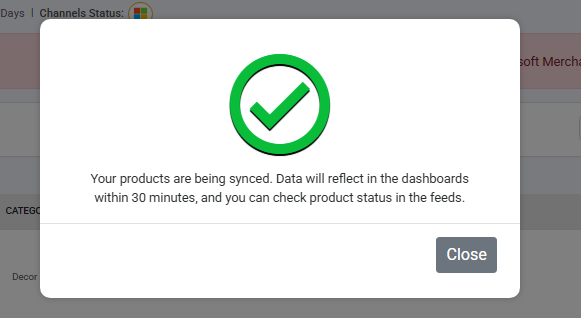
Once done, click Sync Products to begin syncing your items to Microsoft Merchant Center.
Step 9: Once synced, your feed will appear in the Feed Management section where you can track sync status, product count, and next sync date.
Create Performance Max Campaigns #
Step 1: Go to Conversios > Campaign Management.
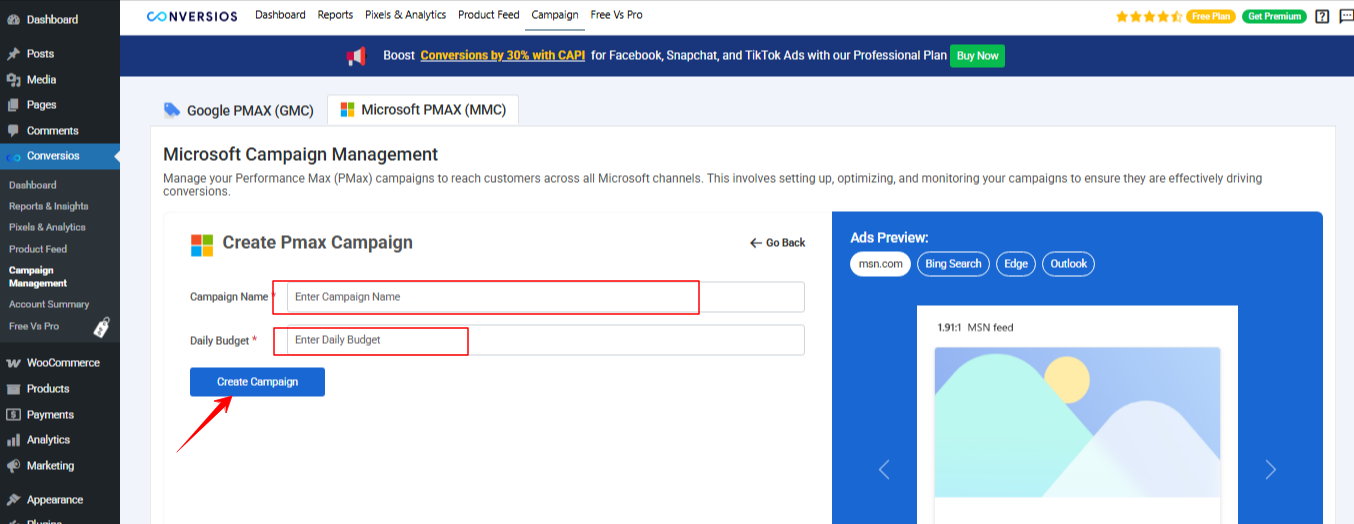
Step 2: Select the Microsoft PMAX (MMC) tab.
Step 3: Click on Create New Campaign.

Step 4: Enter the Campaign Name and Daily Budget as shown in the screenshot. Click on Create Campaign to proceed.
Step 5: A success message will appear when the campaign is created.
Setting Up Conversion Tracking for Microsoft Ads #
For detailed instructions, please refer to our dedicated guide:
Set Up Conversion Tracking in Microsoft Advertising
Troubleshooting #
For any issues, contact our support team at [email protected].
Additional Resources (Manual UET Setup Options) #
If you prefer to manage UET tags manually or are using a different setup (such as GTM or WordPress.com), here are official Microsoft resources you may find helpful:
Set up UET tags using Google Tag Manager
Note: If you’re using the Conversios plugin for WooCommerce, UET tags are created and implemented automatically. No manual configuration via GTM is required for standard setups.